Sun 29 May 2011
Last Monday, our spinning guild had an informal workshop on spinning art yarns led by Carrie (ravelry link, or here’s her Etsy shop). I barely got to try any of the techniques we covered at the meeting, because I was too engaged in sitting and watching her spin and hearing about all the details of the different techniques. So yesterday, I sat down to spin some samples in between packing boxes.
I started out with corespinning, where you spin your fiber onto another yarn “core.” Since all the strength of the yarn comes from the core, you spin very, very lightly and get a very fluffy yarn.

I have decided that I very much like corespun, though I have no idea what I will use it for. There is so little twist that it will probably be a pretty delicate yarn, but it is soft. It would be perfect for any garment where you want a halo, or just a very light fabric. It also uses a lot less fiber than traditional spinning, and it will keep long color repeats together when you don’t want a single or a chain-plied yarn. I also found that you can make a very tight corespun that is more like a traditional yarn (and probably more rugged), or you can go for loft, depending on the tension you apply while you spin.
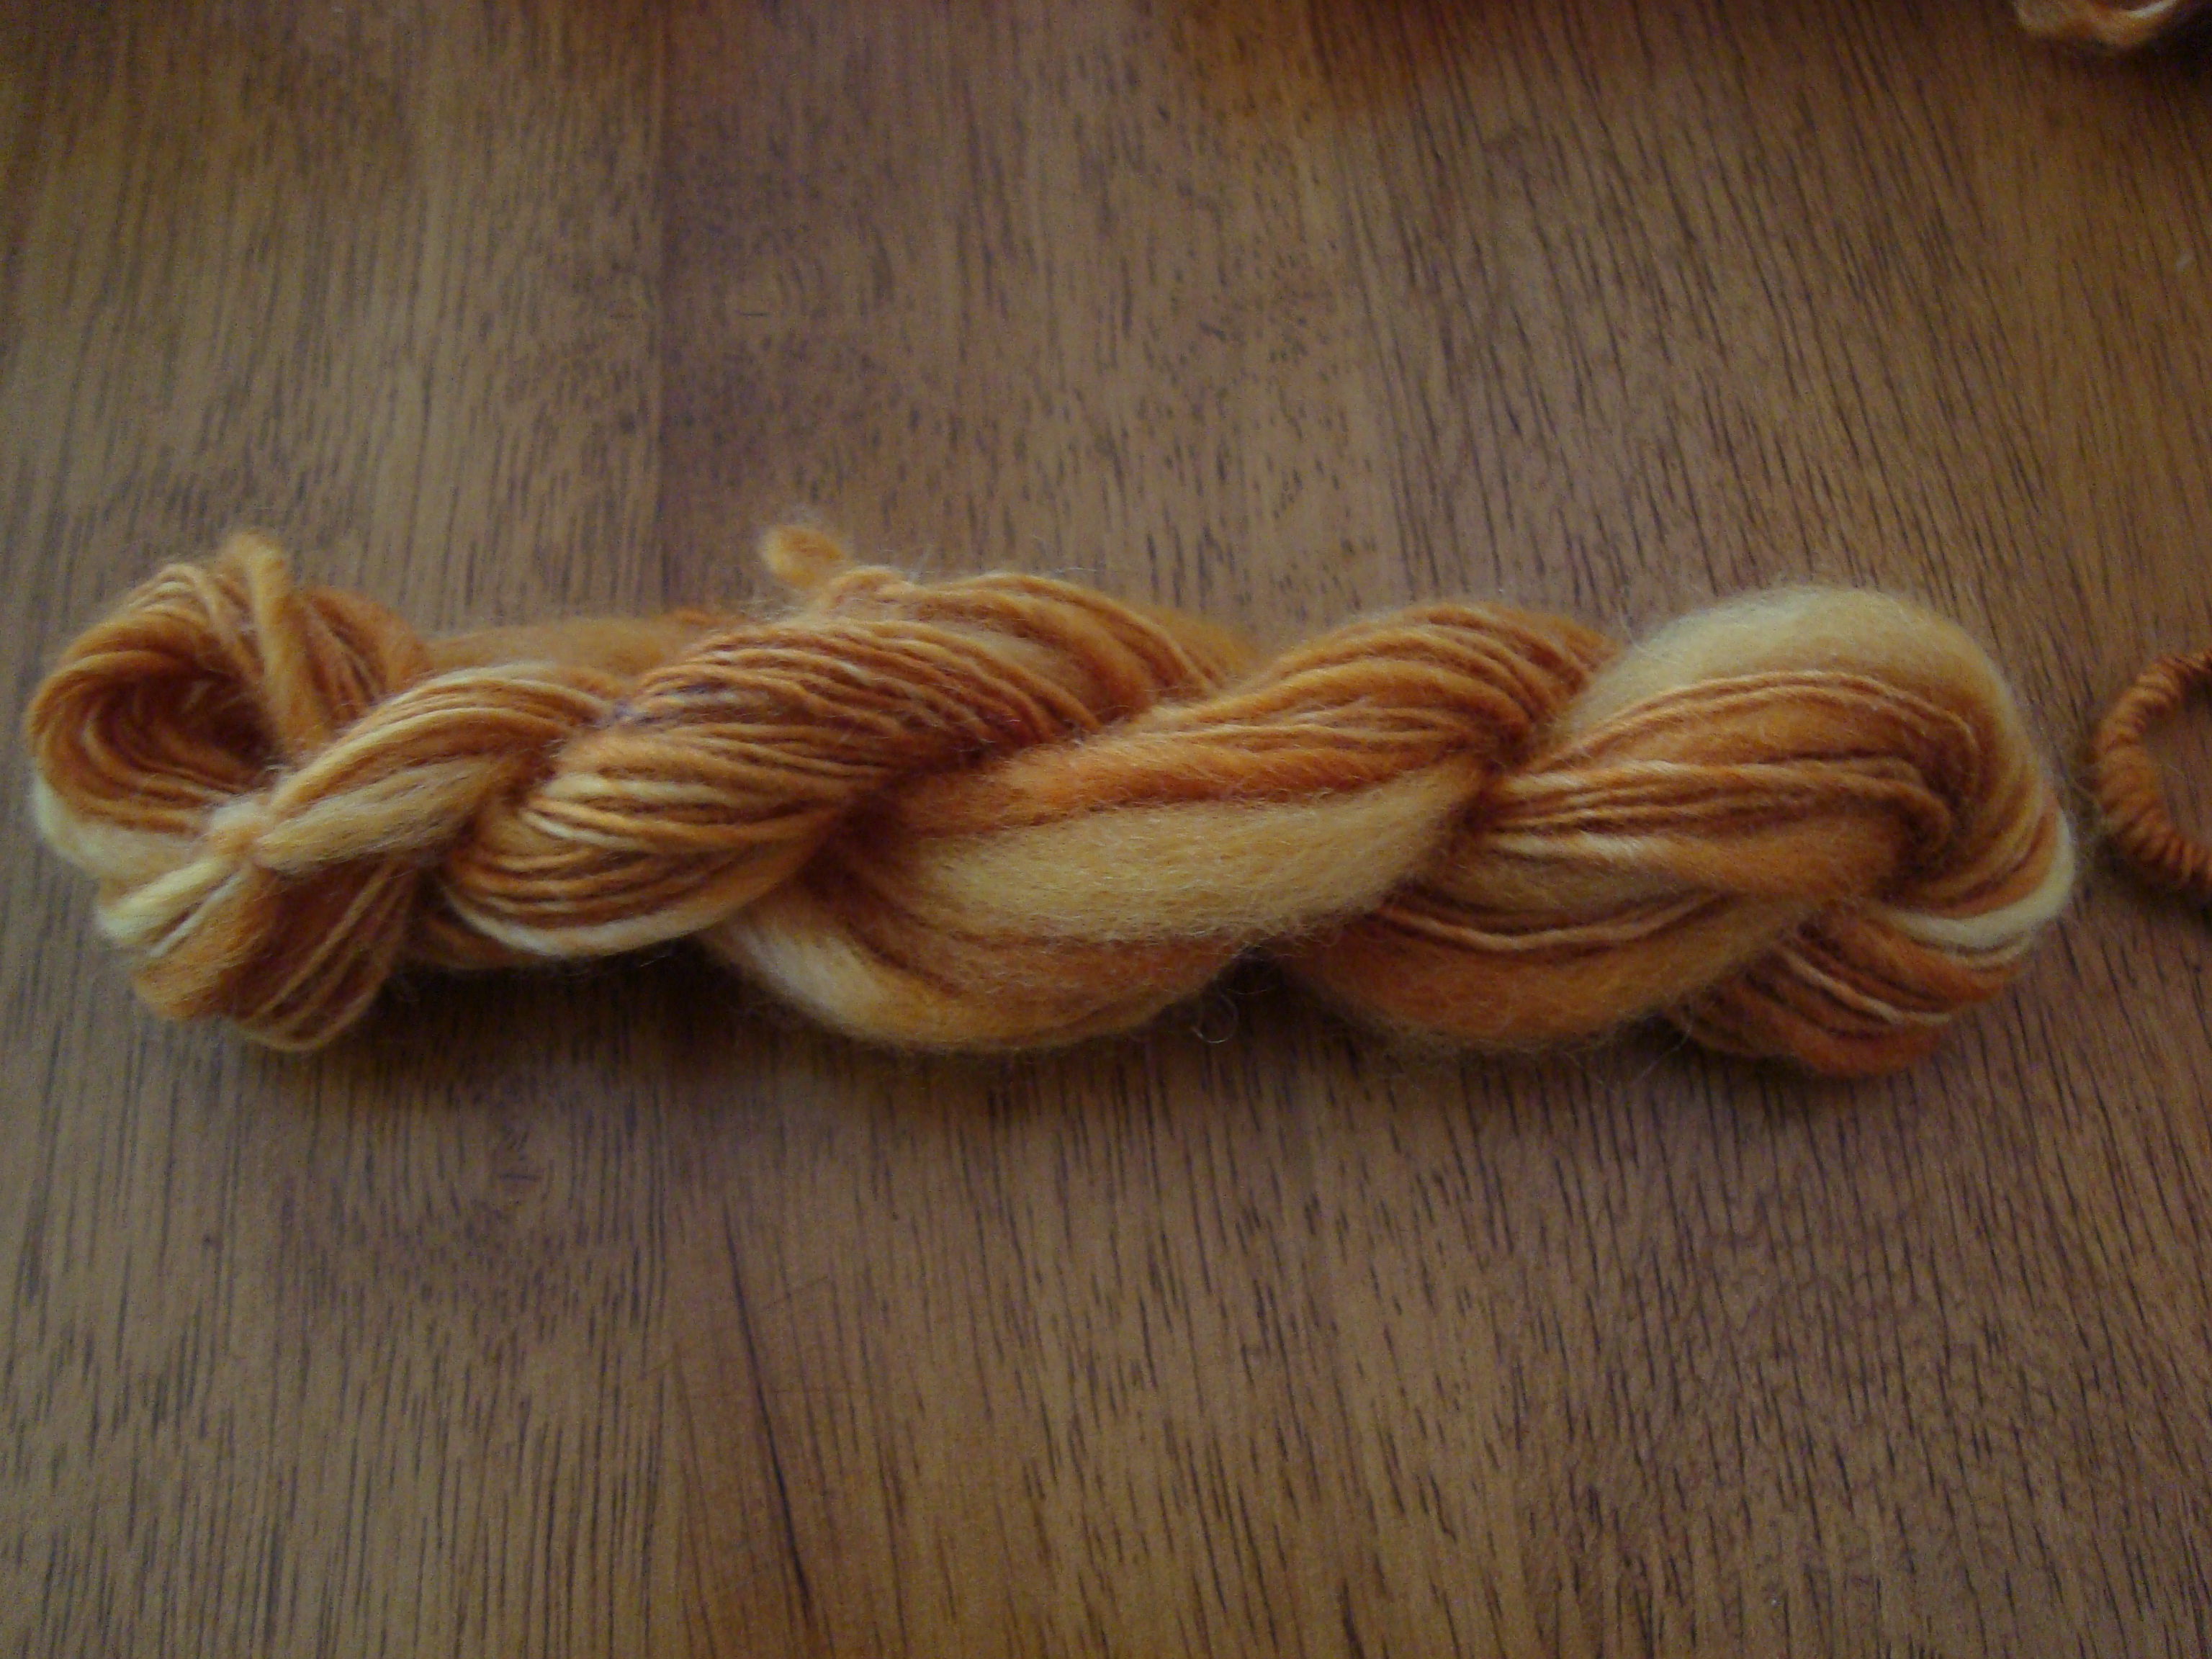
Next, I tried thick-and-thin, which is supposed to be hard but I found to be much more intuitive than the “easier” corespinning. I think that’s because I usually spin long draw, and that’s pretty much what you’re doing when you spin thick-and-thin; you just let the twist grab onto a large bunch of fibers, draft out to get back to a thin yarn, and then start spinning normally again at the end of the staple. It makes a very stable yarn, with very fluffy bits.

And here’s one of the “thick” spots all by itself. The trick is to make sure that the twist catches both ends of the staple so that the yarn doesn’t fall apart when you pull on it. I was snapping these hard enough to hear it, and they didn’t move at all. They are really long because I was using BFL as my spinning fiber. Shorter fibers will give you shorter thick spots.

Once you have thick-and-thin, you can start playing with coils. The easiest one is the supercoil. You ply your thick and thin with a core yarn, and then just scrunch the thick-and-thin ply up along the core. (I hear tell that this is very similar to what you do to make a boucle yarn, but I haven’t tried that one yet.) This looks like it should be a necklace or something, doesn’t it?

Since the coils aren’t really held down with anything, I found that mine move around a lot in the final yarn. Maybe I just haven’t practiced enough yet, but I think it’s in the nature of this yarn to move around a bit. Maybe it would be better with a binder yarn spun around it? I think it would also help to have a stickier core; I just used weaving cotton because it was a good color match. I’m not sure what I would use this for, but it was fun to make. I didn’t make much of it, because it requires a ton of singles to keep up with all that scrunching.
Next, I tried beehives. Again, you ply thick and thin with a core yarn, but this time you only scrunch when you get to a thick spot. This gives you long stretches of “normal” 2-ply yarn with the occasional beehive in between. This was a little trickier because you have to anchor the beginning and end of each beehive, but I actually like it better because they don’t really move around once they’re anchored in place. (You may have guessed by now that I generally prefer my fiber to stay where I put it rather than wandering around while I knit…)

And finally, I tried autowrapping. Basically, you add an extra yarn during the plying, but don’t hold onto it. You just let it hang there and “autowrap” itself around whatever else you’re doing. In this case, I used a silver metallic thread that Branden picked up for me at JoAnn’s fabric while he was out running errands. Since I had silver, I switched to a blue fiber instead of the butterscotch. I started out by corespinning the blue fiber, and then I plied it with some laceweight leftovers in the stash. While I plied those two together, I let the silver autowrap away. And this is what I came out with.

This is an incredibly soft, fluffy yarn with just a hint of glitter. I couldn’t get it to photograph well, but you can just barely see it there if you look closely. Still a fairly delicate yarn, but I think this will wear a lot better because the plying and the extra wrapping should help hold everything in place. I can definitely see using this, either for weaving or for knitting confections.
I also played around with cocoons in that skein. Here, you just insert a small amount of unspun fiber between your plies, and anchor it down. You’d also use something similar to put in beads and other foreign objects. I don’t generally care for lumps and bumps in my yarn, but it does add some interesting texture, and you wouldn’t have to make them as huge as I did. Again, perhaps for weaving, where I tend to like irregularities in the yarn much more than in my knitted fabric. (Ellen, I thought of cardinals when I was practicing this…)

You can see the autowrapped thread a little more clearly there; by letting it wrap on after you’ve plied, it becomes another ply wrapped around the surface of the other two instead of getting buried in the yarn.
In all, it was another fun set of experiments. I will definitely think about using the corespun and the thick-and-thin in the future, and possibly the beehives. I don’t know about the rest of the techniques, but it was fun to learn them, and it never hurts to have a few more ideas in your toolbox. I definitely learned a lot from this two hour (free!) workshop, and it was fun to try so many new things. Though I’m still not an art yarn addict, I’m really looking forward to coming up with ways to use these new yarns in the future; I think that they will give me lots of options that the more traditionally spun yarns don’t, especially where loft and softness are important, or when I’m looking for unusual texture to add to woven cloth.
The problem I have with art yarns is the great uncertainty of what to do with them. We saw some really neat yarns yesterday that were pretty, but…well, what do they make? (I have the same problem with really small skeins of pricy luxury fibers–I don’t need that many scarves!) Learning all those techniques has to be really fun, though.
I love seeing what you’ve done! Like Amanda, I tend to not know what to do with art yarns, especially in knitting. (And like you, I like my fiber to stay put in my knitting.) In weaving, though, I might feel very differently… I can’t wait to see what you do with these!
Ah hah! I hadn’t figured out that the reason thick & thin is stable is because you don’t go longer than the staple. Thanks for that tidbit, and for all the good experimentation!
As for cocoons, I immediately thought of cardinals, too. It is still the lead technique in my ideas of how to spin that beautiful stuff.
The kiddens like it, too, by the way. Despite my folding the box nicely closed, they immediately dug their little paws in when I left the room. Luckily, I came back just a minute later to find them trying to help the cardinals escape. No long term damage, and the fiber is behind lock and key now.