As we get closer and closer to the fiber festival, it’s time to stop and take stock of the dyeing. I finally banded up all the braids last night, and then laid them all out to see the colors. The bottom row is polwarth, then falkland, then BFL, rambouillet, and shetland.
These are mostly semisolid colors, with just a few gradients and multi-color braids thrown in here and there. Next, I’ll be turning my attention back to the real painted fibers with multiple colors, but first I wanted to get a sense of where things stood.
In general, the color distribution looks pretty good. Lots of blue-greens and purples (no surprise there), a few browns, a surprising number of orange. Not much in the true/dark reds, the true blues, or the bright greens and yellows, so those are places to maybe make some more. Also, a few real pinks couldn’t hurt.
We also finished another project for the show this weekend. We’ve been looking and looking for ways of displaying items, and haven’t found much that was a) attractive b) portable and c) relatively inexpensive. So, we made something.
I bought some canvas at Joann’s using one of their 50% off coupons. On Friday, I pulled out my trusty sewing machine and set to work. First, I cut the fabric into strips and sewed the strips together to make pockets. Then, Branden cut and assembled the frame over the weekend. We’re both really pleased with how this came out. I am thinking that it may become a permanent addition to my fiber room after the show. (I’m also thinking I might need a few more…)
Of course, I like it even better when it’s full of fiber.
And the best part?
It folds up when it’s not in use, so it’s really easy to slip into the car when it’s time to go. We’re getting close!
The picture gods have smiled upon us, and I finally managed to get the right lighting conditions for good color photos of some of the new fibers I’ve been dyeing lately.
My color moods are always influenced by the season, so I suppose it’s no surprise that all I see are the colors of spring. There are happy daffodils dancing in the breeze:
And then there are crocuses opening in the sun:
I also found some of the leftovers from last years’ garden in my dyepot.
I dyed up some of the new rambouillet last week:
And this week, I have started moving out of the semisolids and into gradients, my next great adventure.
This fiber has 6 different concentrations of dye painted on it, going from pale all the way up to the most concentrated stock. I dyed this one with the fiber folded in quarters, because that’s what I had presoaked that day. Next time, I think I’ll fold the fiber in half instead, to get a longer repeat. This color looks beautiful with the dark walnut brown.
The names for the colors shown above:
Daffodil (Falkland) and Olive (Falkland)
Pale Crocus (Polwarth), Deep Crocus (Polwarth), Saffron (Polwarth), and Brilliant Green (BFL)
One of the reasons for doing a fiber festival this year was to see how the business side of DesigKnit would scale. It’s an experiment, really; designed to help us identify and work through the sticky spots that are sure to crop up as things get bigger. (It’s always easier to work your way through the hurdles in a controlled experiment than it is when you’re doing things under pressure or on the fly.)
Fortunately, the first part is easy. I have no trouble at all thinking up more colorways. In fact, even with increased production I am still not even scratching the surface of things I want to explore. Everything I do suggests 5 more things to try. No problems there.
We’ve had a few jumps and starts with sourcing larger amounts of fiber. My staple products were no problem, since I just worked with my usual vendor and made a bigger order. We worked out a deal that made both of us very happy, and that was that.
The trouble came in when working with new vendors. I mentioned earlier that I wanted to start stocking Targhee and Rambouillet. It turns out that the Targhee is back ordered for some unknown period of time (waiting for wool to come back from the mill is a very unpredictable thing), so that’s on hold for now, pending further notice. The Rambouillet was in stock, and I was excited about buying directly from a small farmer, but she abruptly stopped returning my emails as soon as I asked about wholesale prices. I don’t know why, and it’s doubly unfortunate since I would have considered paying retail prices for the fiber, but there you have it. Sometimes things don’t go as planned.
This led me off on a quest to find more Rambouillet, at a reasonable price. I didn’t find another farmer, but I found someone that sells large quantities of commercial top. We had to really bite the bullet to pay for three times as much fiber as I’d have liked to order (30 lbs is a lot of fiber!), but we will be all set with Rambouillet for the forseeable future. This is a much more commercial prep, with a little less of the “sheep” left in the fiber. The other was clean and well processed, but it felt a lot closer to wool the way it comes off of the sheep than the more heavily processed version. If you’ve ever bought top at a sheep festival compared to a commercial prep, you know what I mean. (If you haven’t, get thee to a sheep festival to see the difference!) The new fiber is not as spongy as the mill-processed top, but because of that it drafts much, much more smoothly. Honestly, I like spinning it better than the other, though I always have a guilty preference for highly processed top, because it is so smooth to spin. It’s a beautiful fiber, and I’m excited to have it.
So we have the fiber and the dyeing worked out, but we just can’t seem to work our way around the pictures. Getting color accuracy in photos is notoriously difficult, and it seems that I tend to dye colors that are particularly hard to capture. Branden has been patiently clicking away, taking sometimes hundreds of photos with different settings before he gets one that works, but we still haven’t narrowed down the important variables. We think we have it with one batch, but then the same changes just don’t work on the next, and we end up starting all over again.
This has been a problem for a long time, but it wasn’t too bad when I was only producing a handful of colors at a time. It takes longer to take good photos than it does to dye the fiber, but we both like a challenge and we felt it was worthwhile. Now, though, I am making up to 20 colors in a single dye day, and the photography just can’t keep up. We have tried everything we can think of; changing the lighting, using different white cards and white balance settings, tweaking and adjusting every setting on our manual DSLR cameras. We started taking the photos in RAW format and trying to tweak them manually, but we’re not yet very good with the software and it takes forever to get right. (I am also terribly impatient with that part of the process: just thinking about it makes me break out in hives.)
Needless to say, we’ve ended up with quite a backlog of colors waiting to be photographed. After spending a good 6 or so hours of limited weekend time every weekend for weeks on end, we’re both pretty frustrated. Clearly, this is something that still needs work.
So, in an effort to keep things moving along, we’re going to try to take pictures of just a small subset of fibers for posting on Etsy and the blog. I had wanted to give the blog first go at the new colors that I’m making, but there is just no practical way to make that happen until we figure out this camera thing. Unfortunately, no pictures also means that I have no record of the colors that I’m making, and it changes the bookkeeping side of things, but for now I think that’s just how it has to be.
We will try to post photos of as many things as we can, but I’m not sure yet exactly how that’s going to work out. It would be easier if I wanted to just settle into a few standard colorways, but that takes the fun and the experimentation out of dyeing for me, so we’re going to have to find a way to make it work with more varieties.
Not posting all of the fibers has been a hard decision for me to make, because I hate secret projects. One of the promises that I made myself at the beginning of this little business venture was that I wouldn’t do anything that I couldn’t blog about. (That’s particularly important with patterns, since it dictates a lot about places you can and can’t publish.) Blogging is the first thing I want to do when I make a new set of colors or think up a design, and it blocks my process when I can’t talk about the things that I’m working on and excited about. It also makes for really boring blogging, and long silences.
So, we’re still working on that part. The good news is that I do still like to dye, and I don’t think I’ll ever run out of colors to try. I’ve been dragging my feet over the past few weeks, not wanting to dye anything new until we had photos of the old colors, but I really need to ramp it up in the next few weeks to get ready for the show. In the meantime, we’re trying to figure out how to smooth over or get around the other bumps in the road, trying to find a way to scale this process in a positive way.
For now, I need to go plan out the next dye session; there are so many more colors to make!
Between our recent photo-taking difficulties and just general laziness, I have gotten terribly behind in the posting of new fibers for the shop. There are two dye days ready to post, and another just waiting for photos (we’ll look at that one later).
I’m still working on beefing up my selection of semisolids, with an eye to producing colors that will go with more variegated colorways that I’ve been dreaming up and will hopefully get to dye soon. On the first dye day, I was trying to broaden my range of colors available in the Etsy shop. On the second day, I realized that I’m now dyeing for a show, and I need a wider selection of each color, and possibly even multiple copies of each one. The second dye day was all about blue, so you’ll see a lot of it here.
Since there’s a lot to cover, let’s go by breed, shall we?
I’ve had a few pounds of Shetland hanging around in my dyeing stock, waiting patiently for its turn to be dyed.
BFL is always a staple around here, so there’s quite a bit of that, too.
Along with a little Polwarth (because what’s a dye day without Polwarth?)
You can really see how much the camera has been acting up in those photos; the background fabric is the same for both, but it looks completely different. At least the fiber colors are finally right!
And finally, we have a couple of guest stars for the day. As I mentioned in my last post, I’m still working on sourcing more Targhee and Rambouillet fibers; the tradeoff of working with small farms is that they don’t have as steady an inventory as a bigger operation. The plus side is that they do have beautiful fibers:
That’s the Targhee, dyed up as semisolids. And then there’s the Rambouillet:
You can’t see it from the pictures, but the Rambouillet top is actually a lot thinner than the other fibers. When I braided it up, it was almost 3 times as long as the others! Since it’s such a crimpy fiber, the thinner preparation really cuts down on the amount of predrafting that’s necessary (and it makes you feel like you’re getting a lot more than 4 oz!)
And now for the pairings:
Top row:
Pale Teal Targhee and Slate Blue BFL
Spring Greens BFL, Denim Targhee, and Grey-Blue semisolid BFL
Pale Teal Targhee and Storm Greens Falkland
Bottom row:
Pale Purple Shetland and Silver Rose BFL
Cotton Candy Shetland and Cocoa Berry BFL
As always, all the colors are now available in the shop, and I have a whole batch of greens just waiting for pictures. More soon!
When I gave Anne her fiber, she said lightly “oh, I’ll put it on the blog.” Then she said two words that puzzled me at first, and then sent me scurrying back to the dye studio in a hurry.
She said “be ready.”
It hadn’t really occurred to me that I might end up with a few extra visitors from all this, and that those visitors might like to find something in the shop to look at when they arrive. Gulp.
So, tonight I’m getting ready for visitors. (If you’re new, never, ever feel pressured to buy…I’ve written at length about my thoughts on that here.)
Fortunately, I always have a million color ideas floating around in my head that I just haven’t gotten to yet. I try to spread out the dyeing, so that it’s not all dyeing all the time around here. (I do like to spend some time talking about knitting, after all.) That inevitably means that there are color combinations that end up on the back burner, waiting until the time is right. I spent yesterday evening putting a few of those ideas onto fiber:
It’s a bit of a hodgepodge, as you might imagine. Of course, there are the fall colors, inspired by the beautiful foliage at Rhinebeck:
My favorite of these is yet to come; try as we might, we just couldn’t capture its color without natural light.
I also tried some brown, since I am always fascinated by the colors of fields lying fallow in the fall. There’s that deep, deep brown of the wet earth, mixed with the lighter brown of the fading grass. It’s the perfect backdrop for the fiery fall display.
Then, there were a few bolder colorways. The first reminds me of the sky at sunset:
The second was a bit of a game. Somewhere in conversation over dinner on Saturday, someone suggested the Irish Pirate as a name for a colorway. Since I love to play with suggestions (leave some in the comments, or submit them on the color suggestion page), I decided to give it a try. I ended up with bright, bright Kelly green mixed in with black and golden treasure.
That got me into the mood for green, so I added in this mixture of saturated emerald and black:
I also played around with olive, mixed with purple and gray, in a colorway based on the sage plant growing in my garden.
And then, because one can never have enough purple and gray, I dyed another with those two by themselves.
This is probably my favorite colorway of the day. Teal and black have been jumping out at me all over the place this fall, and I have been dying to put them together on fiber.
I just love the way this one came out. I used both turquoise and teal; the turquoise is lighter, and really pops out and lightens the colors. The teal is a deeper color and makes a more subtle contrast with the black.
There was just a little black dye left over, so I mixed it with deep reds and purples in a colorway I’ve been dreaming of for a long time now. There’s a particular picture of black cherries that I took a year or two ago, and I’ve been wanting to play with some of those shades. I can’t find the picture right off, but this fiber matches the image I have in my minds’ eye.
So that’s that. A big batch of random colorways, pulled from the back burners and neglected shelves of my mind. Things I’ve been wanting to dye, but hadn’t gotten to, for whatever reason. A wide sampling of the colors that we love, but only the smallest bit of all the possibilities out there. If you’re new here, welcome. There’s something for everyone, I hope. They’re all up on Etsy, should you see something that you absolutely must have.
With the next post, we should be back to our regularly scheduled content. I have fallen a bit behind the blogging wagon, so I have some catching up to do. More on that soon!
I’ve been thinking for a while now about adding different breeds of wool to my Etsy shop staples. The last time I dyed, I ran out of BFL. And that means that it’s time to place a new order for fibers to dye.
And so I’ve been pondering: what other fibers to add?
I am loving the Polwarth that I just dyed up. I made it through the first 4 ounces of the spinning, and it is turning into the lightest, loftiest fiber I could have imagined. I’m trying to spin a laceweight, but I’m not sure I’m going to make it, just because the wool is so fluffy. So that’s on the consideration list.
Last weekend, Ellen casually asked in an email whether I’d ever considered dyeing rare wools. Why yes, I have, but I’ve just never gotten around to it. Actually, I haven’t even gotten to trying them out in the first place. Her question (and recent experiments, here, here, and here) moved this up the priority list in a hurry. Clearly, some research was needed.
On Monday, I ordered a sampling of fibers from International Fleeces. They were out of stock on lots of things, so I didn’t get many of the rare breeds, but I found plenty of things to play with anyway. And today, I got a box:
These are all fairly small quantities, with the exception of a pound each of Whitefaced Woodland, Portland, and Cheviot. In smaller samples, I have Manx Loaghtan, Black Welsh Mountain, and Norwegian Top. And then there are a couple of exotics, too: Banana Viscose, Soybean silk, and Ramie. Lots of things to play with!
Do you have a favorite fiber to spin? Are there others that I absolutely must try?
This is the first weekend in about two months that we have had nothing that has to be accomplished before Monday. (Well, there’s packing, but that will always have to get done…) It’s nice to have a couple of days off once in a while!
To celebrate, I spent yesterday dyeing. This time, I tried Jocelyn’s request for a Kestrel-colored yarn. There’s another photo here, in case one isn’t enough. They are beautiful birds.
This time, I was able to find colors in my sample card that came relatively close.
I wanted a little more orange in the brown color, and a little more blue in the black-blue mix, but it was close enough to make minor adjustments on the fly. That beautiful cream color is a very, very dilute mixture of pumpkin orange. I used that as my base dye, and then added accents of a slightly higher concentration. On top of that, I layered sapphire blue and black, and a mixture of chestnut and pumpkin orange. My sample up there is a 3:1 ratio, which I upped to 5:1, but you’d never be able to guess there’s that much orange in the reddish-brown color that came out. I had no idea that brown would be such a dominant color in a dye.
But that’s probably enough of the particulars, yes? You probably want to see the actual fiber.
I am thrilled with how this came out. The brown was a tad bit browner than I expected, and there was less of that creamy butterscotch than I was expecting, but I think it’s perfect. I’ve been petting it every chance I get. I’m a tiny bit worried that the colors will mix too much in the spinning, since the dark colors bled a bit into the light and it ate up my light-colored spacers that were supposed to prevent mixing. But I think it will be ok. Carefully spun, I think the colors should stay separate. There are only a couple of spots where the blue and orange bled into green, and they’re very small. So, I pronounce this one a success.
As usual, I dyed a few different things all at once. I had a few ounces of BFL left over that weren’t quite enough to sell, so I used up some of the pumpkin dye making a beautiful butterscotch top.
I’m not sure what it will be; it’s not a color that I wear much, but I can see mixing it in with something else, just for fun.
And then I dyed another four ounces for sale.
I had some extra black dilutions left over, so I mixed those with a tiny bit of teal to make a fiber that looks like the dark, angry clouds of a summer thunderstorm. I’ll probably even get to compare it to reality this afternoon, since we’re supposed to be having some stormy weather again. That one is also on Etsy.
And finally, another one for me. When I bought my last shipment of fiber (well over a year ago now), I bought several 8-oz bundles of wool breeds I’d never tried before. I’ve been anxious to play with them, but just hadn’t gotten around to dyeing them up yet. Yesterday, I dyed up some Polwarth in shades of teal.
This is destined to be some very fine laceweight. My sister is getting married in August, and I want to make a lacy sweater to go with the dress I’m planning to wear. I think I got the color right, don’t you?
You may remember that I posted a while back about dyeing with indigo (here and here). Well. It’s springtime now, so I can open windows again for ventilation, and I had some leaves in the freezer just waiting to be used.
So, I asked Trish (who grew the plants) if she wanted to dye. And she did. So we tried this little adventure again.
We knew that you could use the plants fresh, but didn’t know anything about working with stored leaves. I’d tried drying and freezing my leaves, and Trish had frozen a bunch more.
We tried three different ways of making a dyepot:
Method 1: Frozen leaves, stewed to make a vat
Method 2: Frozen leaves, put in the blender and then applied immediately
Method 3: Dried leaves, stewed to make a vat
I didn’t like the Thioxx last time (I think it ate my wool, in addition to smelling really bad. Definitely not getting invited back to the party again.), so we went with Rit dye remover instead. It’s also easier to come by, since you can get it in the laundry aisle of the grocery store.
We started out with Method 1 (stewing the frozen leaves). Trish put about 2 lbs of frozen leaves into 3 gallons of water, and heated to ~160 F for a couple of hours. We strained the liquid, added 4 T baking soda at about 120 F, and sprinkled 1.5 t Rit on the surface of the liquid. Then, we let it sit ~20 minutes to start reducing the indigo to its dye form.
Next, we tried the blender method. This was a lot less preparation. We took 4 ounces of leaves and enough water to fill the blender, and blended until they were pretty well chopped up. The liquid was bluish and frothy. We strained out the leaves, and put the yarn in immediately, adding just enough water to cover the fiber. After 10 minutes, we took the skeins out and let them dry on the line. We ended up making a second batch of the blender dye, and repeated the soaking and drying 3 or 4 times in total.
Before we started dyeing for the day, I had crushed up my dried leaves (8 oz) and put them in a mason jar in a pot full of water on the stove. I left it on the lowest heat possible, and let it come up to ~160 F over about an hour or so. When we had time between steps for the other methods, we strained the liquid and added some more water. I added 1.5 t washing soda, and about 2 T Rit. After letting it sit for about 20 minutes, we added fiber and started to dye.
Here are the different pots during dyeing. First, the dried leaves:
Then the stewed (previously frozen) leaves:
And, finally, the blender method:
And here are the yarns they made:
(Left to right is dried and stewed, blender, and frozen and stewed.)
We didn’t get blue, but one of the stewed pots had given us a few little specks of it in some of the skeins.
We knew we were close, but couldn’t figure out what was wrong. We were running out of time, but I had a feeling that there was more dye in there somewhere, so we put all of the drained leaves back in the liquid, and pooled the liquid from all three methods into one big storage container. I brought it home with me for more experimentation.
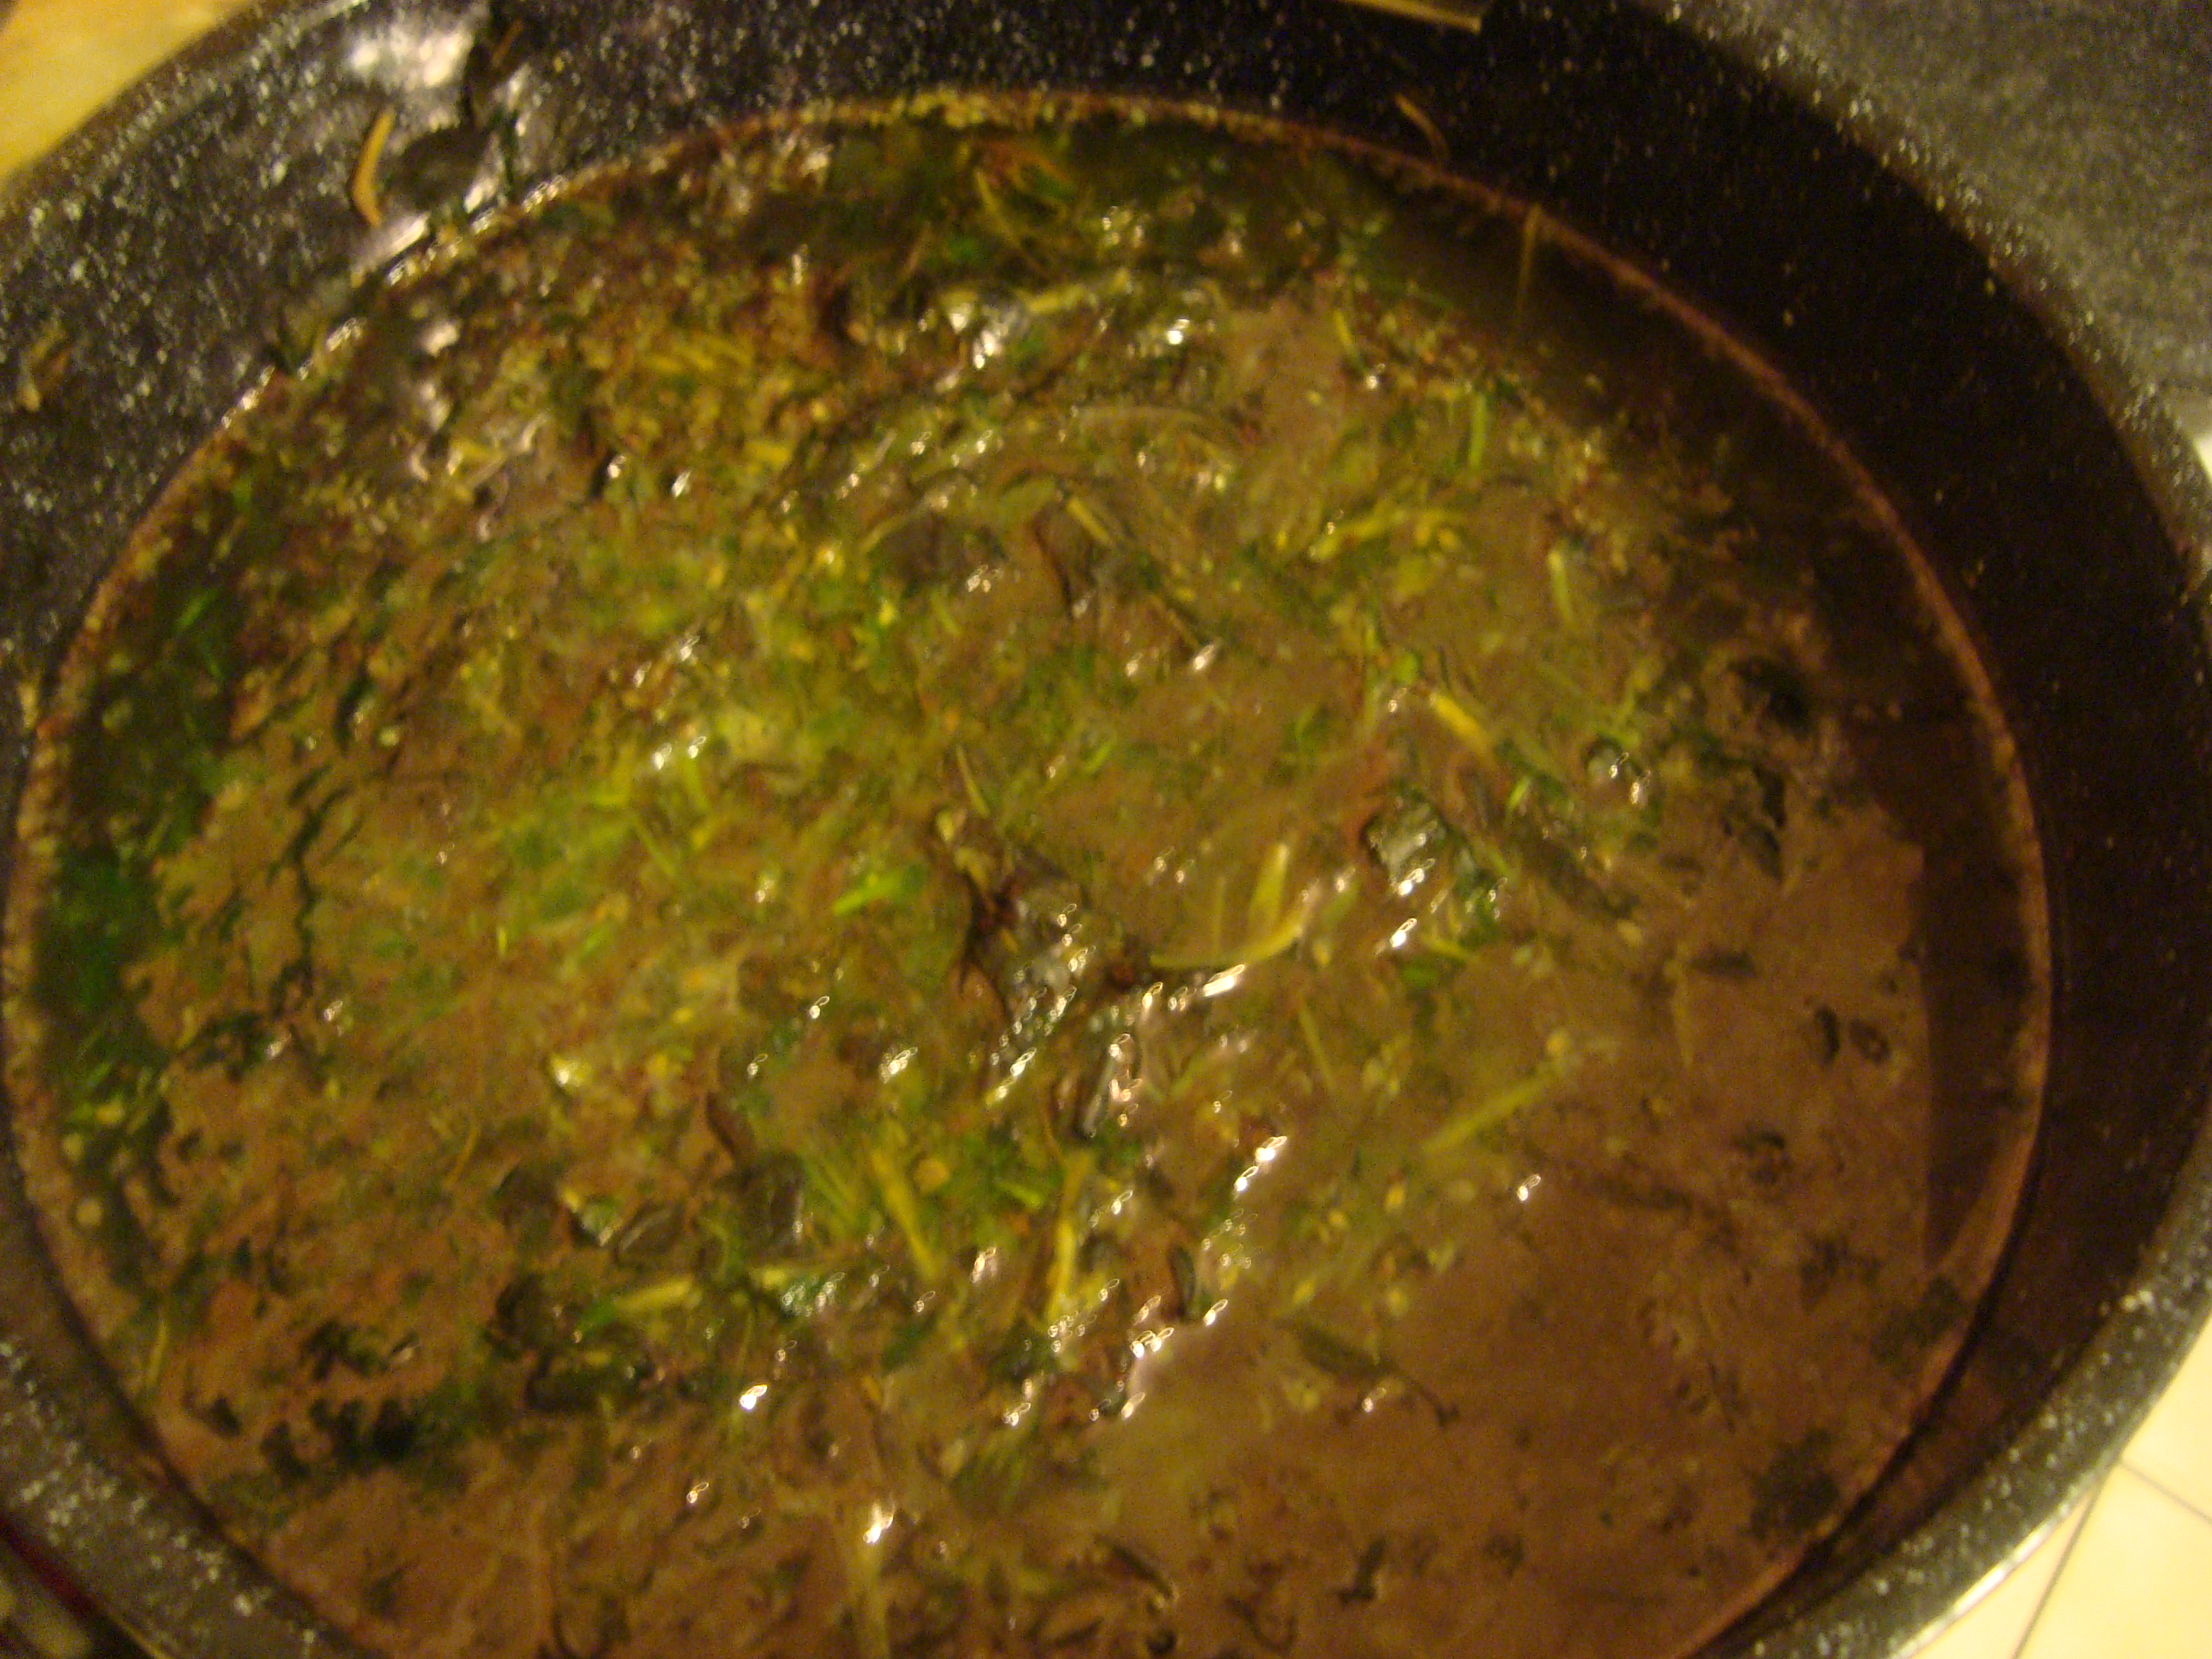
A few hours later, I put the liquid and the leaves back in a pan on the stove and warmed them up to about 160 F again. I just let them sit there, stewing away for a few hours. When I checked on it, this is what I saw:
See that oily-looking scum on the surface? That’s the indigo dye oxidizing when it comes in contact with the air. That’s what we were hoping for. It even managed to give me blue fingers:
I took this to be a good sign.
By this time, it was way too late to start dyeing again. So, I left the pan on the stove to cool overnight, and heated it up again this morning. This time, there was even more blue:
Branden helped me strain the liquid, and then I started the process of aerating it to convert the dye to the right kind for binding to fiber (the leaves release a chemical that has sugar molecules attached to it, and you need to chop them off before it’s ready to dye. Usually, this is done by friendly bacteria in your fermentation vat, but apparently air does it just as well.) Basically, this just means that I had to pour the liquid back and forth between two pans a bunch of times to make sure it was well exposed to oxygen. When I started it was green:
And when I finished it had become a brownish gray.
At this point, the dye molecules are ready to attach to your fiber, but they need to be made soluble by removing all that air I just put into the liquid. Again, this is often done by those hardworking little bacteria, but today I used the Rit dye remover instead (it’s faster, even if it’s not as cool). I didn’t add any more washing soda, since we’d put a lot in yesterday and I didn’t want to make the dyebath too basic since it’s bad for protein fibers. I think I probably added about a teaspoon of Rit (no, I didn’t measure…it was all freewheeling at this point), and then waited about an hour until the liquid had turned a yellowy brown color.
I let the yarn soak for a few minutes, and then pulled it out. It changed color as it came out of the dyebath, going from a pale yellow to a light blue green in seconds.
I got closer to blue this time, though all of the colors are still pretty light. Here are all of today’s skeins, lined up on the counter after rinsing:
All in all, not too bad for a shot in the dark. For those really interested in doing indigo dyeing, here are a few things that I learned:
1) Indigo dyeing is a finicky process, but it is very forgiving. If you add a little too much washing soda (base), you can neutralize it with a little vinegar (acid). If you add too much Rit (reducing agent), you can just whisk the liquid around a little bit to introduce some air. Or, you can just wait a while until the air has consumed enough of the reducing agent to give you back your color. I found that a very, very thin skim of (barely visible) oily-looking blue on the surface of the pot was my best indicator that everything was ready to go.
2) You can dye with dried or frozen leaves. Should you ever want to grow your own indigo, this takes a lot of pressure off of the timing for actually using your dye. The plants have only a 1-2 week window where they’re at their peak, and this allows you to pick when they’re ready and use when it’s convenient. This is a big plus, in my mind.
3) You can get a lot of dye out of the same leaves. I stewed the same leaves 3 or 4 times. Dye kept coming out. I eventually threw them away just so that I couldn’t keep going forever.
4) Time is very important. The longer you wait, the better things will be (generally speaking, at least). It took longer than I expected for the reducing agent to really start working. Some recipes said 20 minutes. I think mine took about an hour.
Once the dyepot was ready, it didn’t seem to matter how long I soaked the yarn. Once it was thoroughly wet, it had as much dye in it as it was going to get. I was able to dip and then remove almost immediately, and didn’t see any difference when I let it sit longer. (I think this may be because I’m working with wool. I’ve read that cotton is different.)
5) Heat is important. Things seem to go best when the dyepot is around 110 degrees F. Below 100, I didn’t get as much color. Above 140 F, you kill your dye. (You only need to worry about that once you’ve added the Rit reducing agent. I steeped my leaves for hours at 160 F with no problems.)
6) If your dyebath looks blue-green, you may need more reducing agent (or, more likely, more time). If it’s a clear yellowish color, then you’re on the right track. If it’s a clear yellow and isn’t putting any color on your yarn, you probably have too much reducing agent (add air). See my photos of the three dyebaths from yesterday for two examples of dyebaths that probably had too much Rit. They looked nice and yellow, but they put almost no dye on the yarn.
If your yarn is coming out too yellow, you’ve probably added too much reducing agent, or too much base. See #2 for solutions. Keep adjusting, and use a piece of test yarn to figure out when you’ve got it right. Personally, I prefer to use a small test skein, and then keep the whole rainbow of colors, but that’s up to you.
Here’s a photo of yarn dyed before and after adding a little bit of vinegar to the dye bath to neutralize what I thought was too much base:
The green yarn on the right was dyed when the bath was slightly too basic. I added a splash (1/2 cup?) of vinegar, stirred the pot once, and got the skein on the left. If you add too much vinegar, the liquid gets cloudier and you stop getting color altogether, and then you add a little more base to bring it back (washing soda, in this case).
7) If you’ve done it right, there is no problem with rinsing your indigo-dyed yarn once it has been exposed to air (it doesn’t have to fully dry). Last time, I washed out all of my dye by mistake at the end, and I thought it was because I’d rinsed it too soon. I tried again today; if you’ve dyed it right in the first place, the color will stay on the yarn. There must have been something else wrong with that dyebath. One of my books specifically recommends rinsing out protein fibers before they dry, because drying concentrates the base on the fiber and can damage your yarn.
8 ) It is possible to get many, many colors from a single indigo vat. It is also almost impossible to get the same color twice; two skeins dyed right after one another will have different shades, and can even be different colors.
9) I did not see any difference between the skeins that I soaked in an alum mordant before dyeing and those that were just soaked in water. I also didn’t see any difference between “regular” and superwash wool.
10) This is a complicated process, like making bread or cheese. It’s not hard once you know what to look for and how to tweak things, but be prepared to poke and adjust, and never expect to follow the recipe exactly (even when it tells you to do so.) Trust your instincts. Find a good reference with a troubleshooting section (I recommend The Art and Craft of Natural Dyeing by J.N. Lile). And most importantly, look for the oily blue skin on the surface of your pot. That’s your sign that everything is going right.


