Sun 24 Apr 2011
You may remember that I posted a while back about dyeing with indigo (here and here). Well. It’s springtime now, so I can open windows again for ventilation, and I had some leaves in the freezer just waiting to be used.
So, I asked Trish (who grew the plants) if she wanted to dye. And she did. So we tried this little adventure again.
We knew that you could use the plants fresh, but didn’t know anything about working with stored leaves. I’d tried drying and freezing my leaves, and Trish had frozen a bunch more.
We tried three different ways of making a dyepot:
Method 1: Frozen leaves, stewed to make a vat
Method 2: Frozen leaves, put in the blender and then applied immediately
Method 3: Dried leaves, stewed to make a vat
I didn’t like the Thioxx last time (I think it ate my wool, in addition to smelling really bad. Definitely not getting invited back to the party again.), so we went with Rit dye remover instead. It’s also easier to come by, since you can get it in the laundry aisle of the grocery store.
We started out with Method 1 (stewing the frozen leaves). Trish put about 2 lbs of frozen leaves into 3 gallons of water, and heated to ~160 F for a couple of hours. We strained the liquid, added 4 T baking soda at about 120 F, and sprinkled 1.5 t Rit on the surface of the liquid. Then, we let it sit ~20 minutes to start reducing the indigo to its dye form.
Next, we tried the blender method. This was a lot less preparation. We took 4 ounces of leaves and enough water to fill the blender, and blended until they were pretty well chopped up. The liquid was bluish and frothy. We strained out the leaves, and put the yarn in immediately, adding just enough water to cover the fiber. After 10 minutes, we took the skeins out and let them dry on the line. We ended up making a second batch of the blender dye, and repeated the soaking and drying 3 or 4 times in total.
Before we started dyeing for the day, I had crushed up my dried leaves (8 oz) and put them in a mason jar in a pot full of water on the stove. I left it on the lowest heat possible, and let it come up to ~160 F over about an hour or so. When we had time between steps for the other methods, we strained the liquid and added some more water. I added 1.5 t washing soda, and about 2 T Rit. After letting it sit for about 20 minutes, we added fiber and started to dye.
Here are the different pots during dyeing. First, the dried leaves:

Then the stewed (previously frozen) leaves:

And, finally, the blender method:

And here are the yarns they made:

(Left to right is dried and stewed, blender, and frozen and stewed.)
We didn’t get blue, but one of the stewed pots had given us a few little specks of it in some of the skeins.

We knew we were close, but couldn’t figure out what was wrong. We were running out of time, but I had a feeling that there was more dye in there somewhere, so we put all of the drained leaves back in the liquid, and pooled the liquid from all three methods into one big storage container. I brought it home with me for more experimentation.
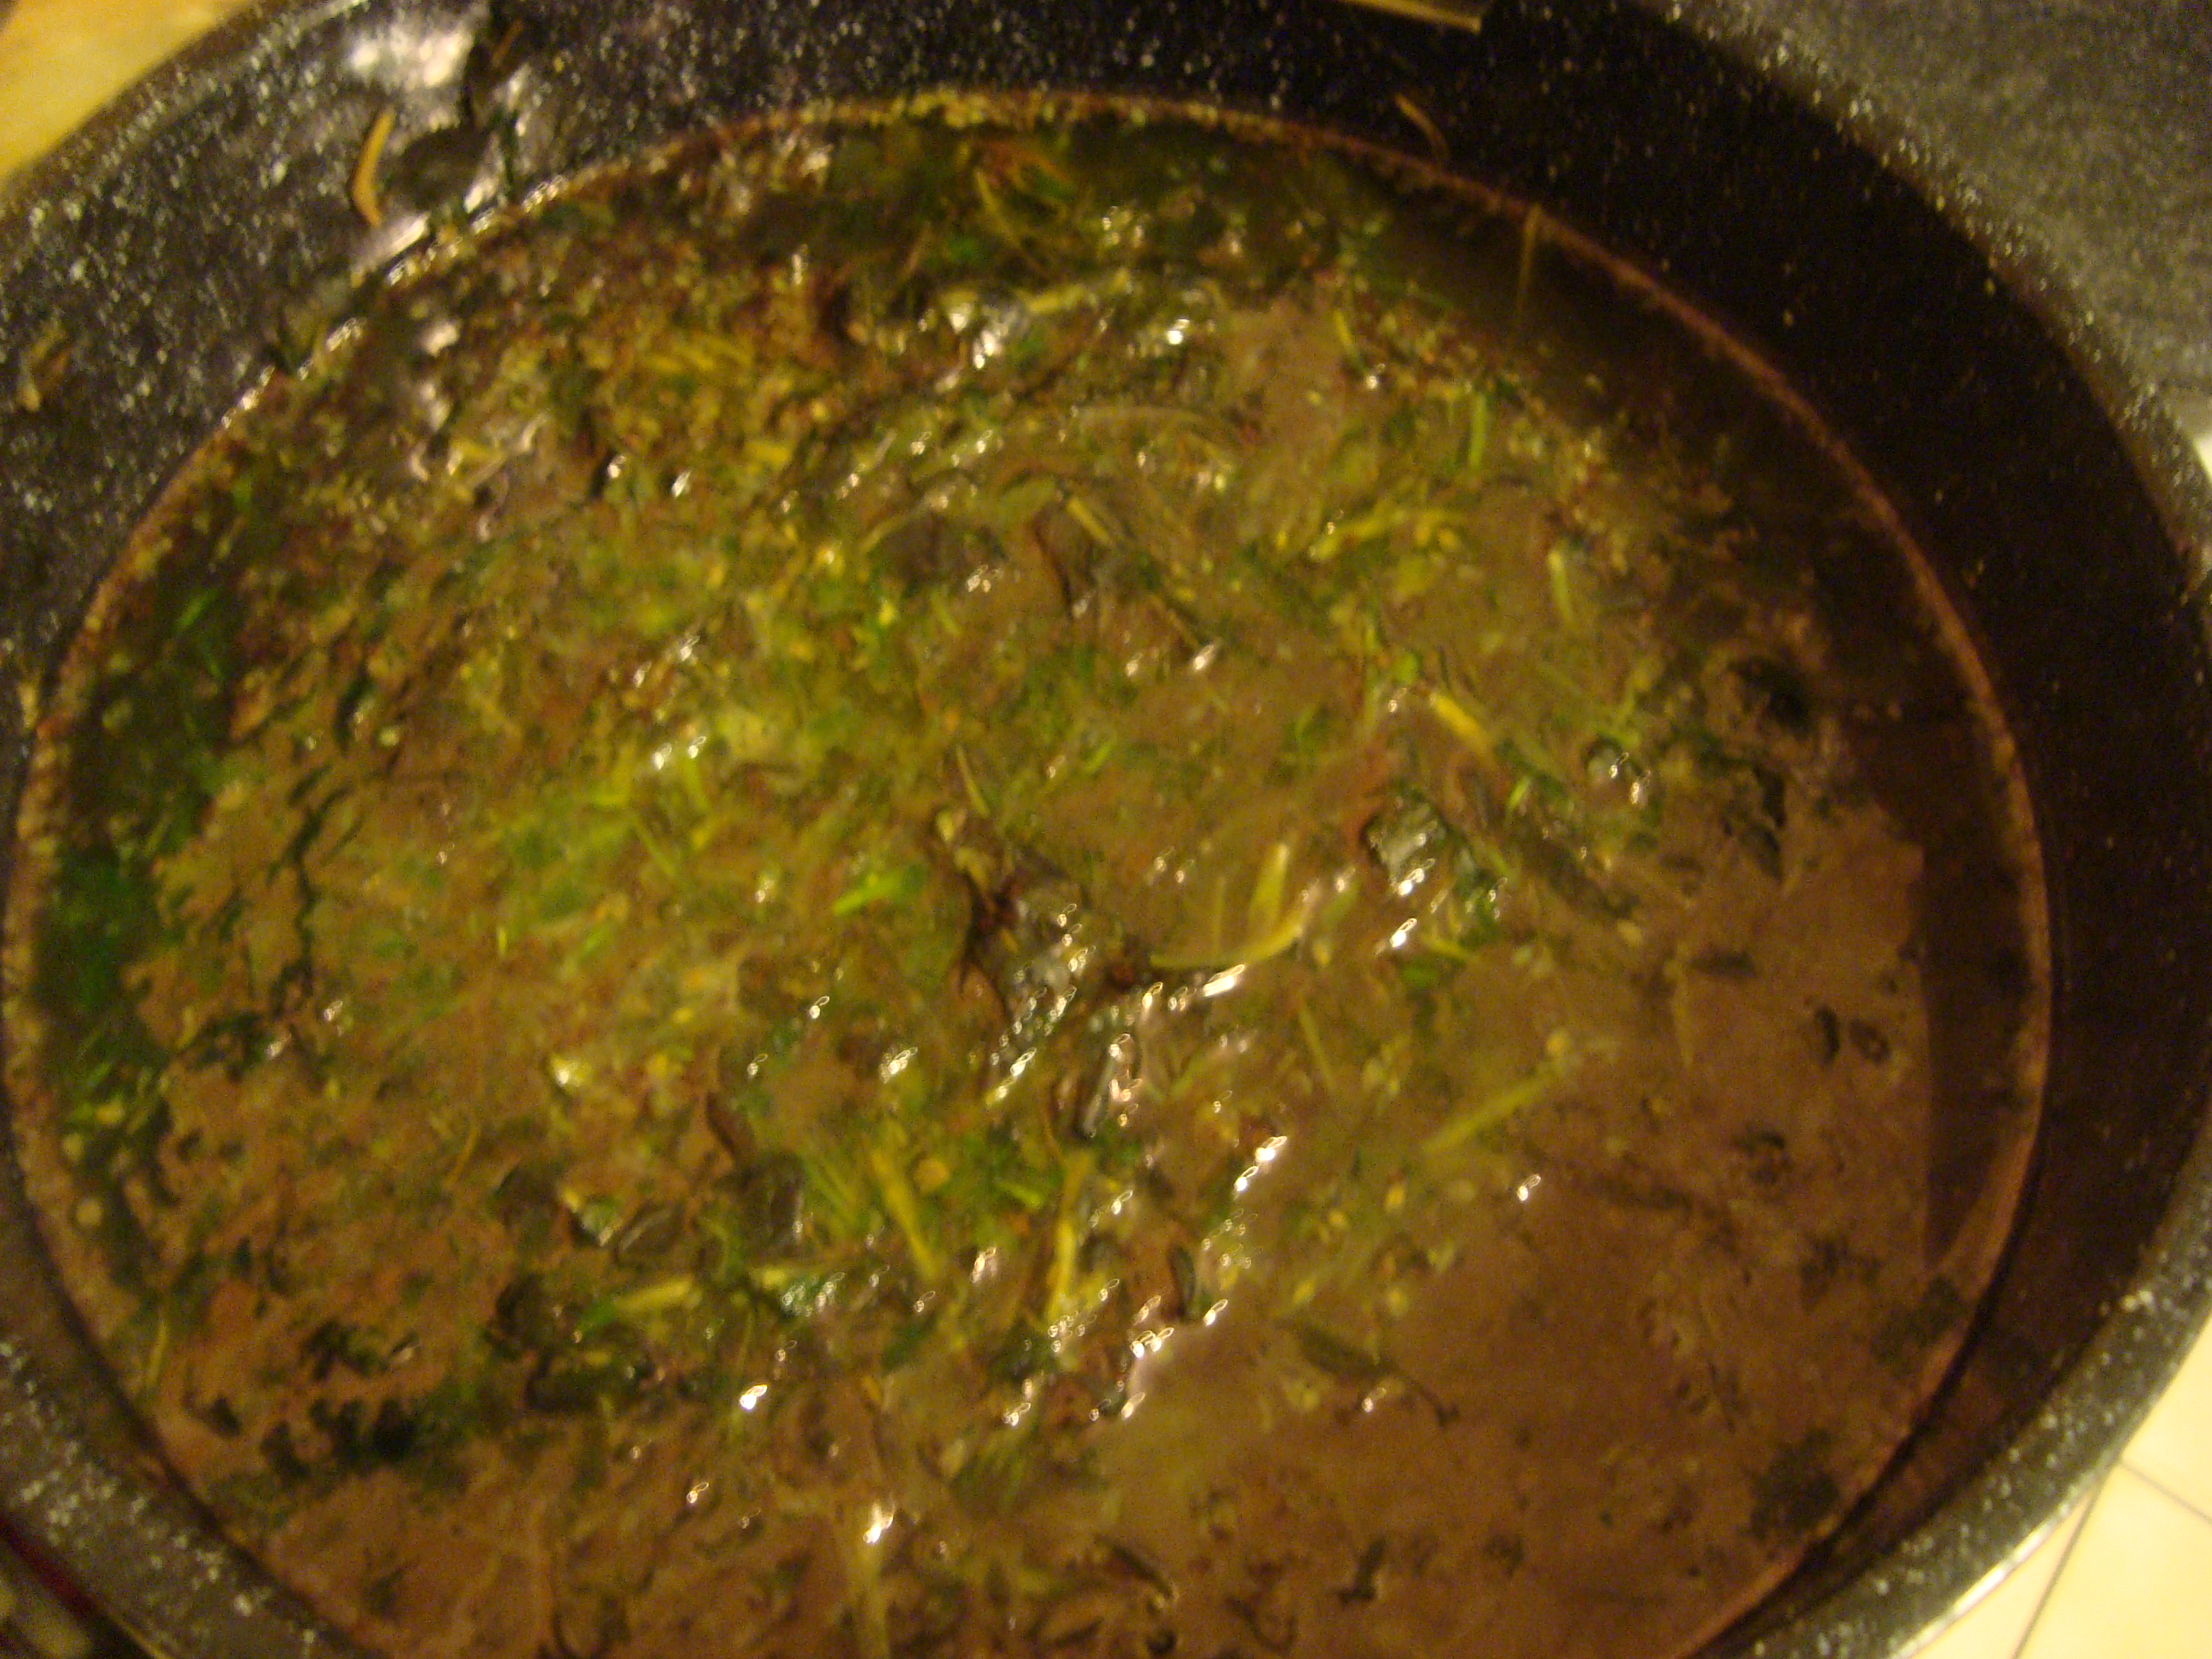
A few hours later, I put the liquid and the leaves back in a pan on the stove and warmed them up to about 160 F again. I just let them sit there, stewing away for a few hours. When I checked on it, this is what I saw:

See that oily-looking scum on the surface? That’s the indigo dye oxidizing when it comes in contact with the air. That’s what we were hoping for. It even managed to give me blue fingers:

I took this to be a good sign.
By this time, it was way too late to start dyeing again. So, I left the pan on the stove to cool overnight, and heated it up again this morning. This time, there was even more blue:

Branden helped me strain the liquid, and then I started the process of aerating it to convert the dye to the right kind for binding to fiber (the leaves release a chemical that has sugar molecules attached to it, and you need to chop them off before it’s ready to dye. Usually, this is done by friendly bacteria in your fermentation vat, but apparently air does it just as well.) Basically, this just means that I had to pour the liquid back and forth between two pans a bunch of times to make sure it was well exposed to oxygen. When I started it was green:

And when I finished it had become a brownish gray.

At this point, the dye molecules are ready to attach to your fiber, but they need to be made soluble by removing all that air I just put into the liquid. Again, this is often done by those hardworking little bacteria, but today I used the Rit dye remover instead (it’s faster, even if it’s not as cool). I didn’t add any more washing soda, since we’d put a lot in yesterday and I didn’t want to make the dyebath too basic since it’s bad for protein fibers. I think I probably added about a teaspoon of Rit (no, I didn’t measure…it was all freewheeling at this point), and then waited about an hour until the liquid had turned a yellowy brown color.

I let the yarn soak for a few minutes, and then pulled it out. It changed color as it came out of the dyebath, going from a pale yellow to a light blue green in seconds.
I got closer to blue this time, though all of the colors are still pretty light. Here are all of today’s skeins, lined up on the counter after rinsing:

All in all, not too bad for a shot in the dark. For those really interested in doing indigo dyeing, here are a few things that I learned:
1) Indigo dyeing is a finicky process, but it is very forgiving. If you add a little too much washing soda (base), you can neutralize it with a little vinegar (acid). If you add too much Rit (reducing agent), you can just whisk the liquid around a little bit to introduce some air. Or, you can just wait a while until the air has consumed enough of the reducing agent to give you back your color. I found that a very, very thin skim of (barely visible) oily-looking blue on the surface of the pot was my best indicator that everything was ready to go.
2) You can dye with dried or frozen leaves. Should you ever want to grow your own indigo, this takes a lot of pressure off of the timing for actually using your dye. The plants have only a 1-2 week window where they’re at their peak, and this allows you to pick when they’re ready and use when it’s convenient. This is a big plus, in my mind.
3) You can get a lot of dye out of the same leaves. I stewed the same leaves 3 or 4 times. Dye kept coming out. I eventually threw them away just so that I couldn’t keep going forever.
4) Time is very important. The longer you wait, the better things will be (generally speaking, at least). It took longer than I expected for the reducing agent to really start working. Some recipes said 20 minutes. I think mine took about an hour.
Once the dyepot was ready, it didn’t seem to matter how long I soaked the yarn. Once it was thoroughly wet, it had as much dye in it as it was going to get. I was able to dip and then remove almost immediately, and didn’t see any difference when I let it sit longer. (I think this may be because I’m working with wool. I’ve read that cotton is different.)
5) Heat is important. Things seem to go best when the dyepot is around 110 degrees F. Below 100, I didn’t get as much color. Above 140 F, you kill your dye. (You only need to worry about that once you’ve added the Rit reducing agent. I steeped my leaves for hours at 160 F with no problems.)
6) If your dyebath looks blue-green, you may need more reducing agent (or, more likely, more time). If it’s a clear yellowish color, then you’re on the right track. If it’s a clear yellow and isn’t putting any color on your yarn, you probably have too much reducing agent (add air). See my photos of the three dyebaths from yesterday for two examples of dyebaths that probably had too much Rit. They looked nice and yellow, but they put almost no dye on the yarn.
If your yarn is coming out too yellow, you’ve probably added too much reducing agent, or too much base. See #2 for solutions. Keep adjusting, and use a piece of test yarn to figure out when you’ve got it right. Personally, I prefer to use a small test skein, and then keep the whole rainbow of colors, but that’s up to you.
Here’s a photo of yarn dyed before and after adding a little bit of vinegar to the dye bath to neutralize what I thought was too much base:

The green yarn on the right was dyed when the bath was slightly too basic. I added a splash (1/2 cup?) of vinegar, stirred the pot once, and got the skein on the left. If you add too much vinegar, the liquid gets cloudier and you stop getting color altogether, and then you add a little more base to bring it back (washing soda, in this case).
7) If you’ve done it right, there is no problem with rinsing your indigo-dyed yarn once it has been exposed to air (it doesn’t have to fully dry). Last time, I washed out all of my dye by mistake at the end, and I thought it was because I’d rinsed it too soon. I tried again today; if you’ve dyed it right in the first place, the color will stay on the yarn. There must have been something else wrong with that dyebath. One of my books specifically recommends rinsing out protein fibers before they dry, because drying concentrates the base on the fiber and can damage your yarn.
8 ) It is possible to get many, many colors from a single indigo vat. It is also almost impossible to get the same color twice; two skeins dyed right after one another will have different shades, and can even be different colors.
9) I did not see any difference between the skeins that I soaked in an alum mordant before dyeing and those that were just soaked in water. I also didn’t see any difference between “regular” and superwash wool.
10) This is a complicated process, like making bread or cheese. It’s not hard once you know what to look for and how to tweak things, but be prepared to poke and adjust, and never expect to follow the recipe exactly (even when it tells you to do so.) Trust your instincts. Find a good reference with a troubleshooting section (I recommend The Art and Craft of Natural Dyeing by J.N. Lile). And most importantly, look for the oily blue skin on the surface of your pot. That’s your sign that everything is going right.
Very, very cool. I don’t know that I’ll ever try this, but I really like reading about your experiments/experiences. It also makes me wonder how anyone ever figured out to do all of those steps to make those leaves turn things blue (rather like eating acorns – who was the person who kept trying different things until they were edible, and how desperate were they at the time?). Those last skeins turned out really nicely – you’ve got some great blues there!
I guess I didn’t realize you could get so many colors from one plant! And as Jocelyn said, who figures out these things in the first place?! It looks like you got some really pretty yarns out of your experimentation, though, so perhaps it was just someone who liked playing with color….
Nice documentation (naturally). Your experiments have really made me appreciate indigo dyers! I like all the different colors and how well they work together.